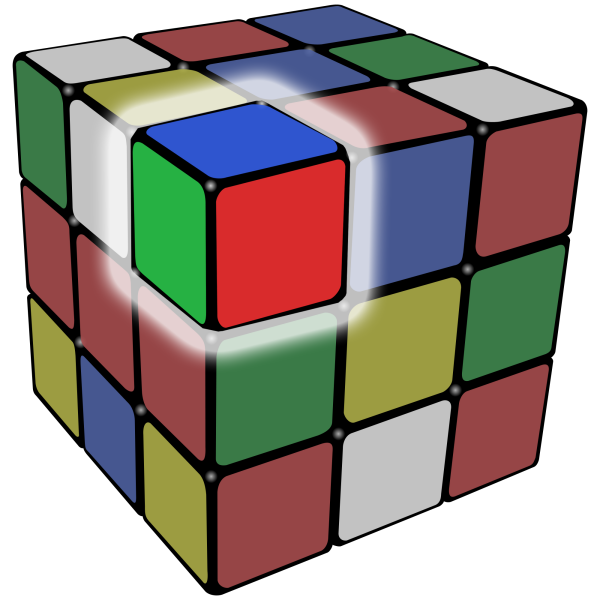
Welcome to this tutorial!
There are two steps to solving one face of a Rubik's Cube:
- The Cross
- The Corners
Let's get started, but first, a lesson on pieces.
| Piece |
# Of Colors |
| Center Piece |
1 |
| Edge Piece |
2 |
| Corner Piece |
3 |
Here are some pictures of the different pieces:
Center Piece

Edge Piece

Corner Piece

Step 1: Inserting the Edge Pieces
First, you have to find an edge piece that has white on it and put in so that the white color is right next to the white center. Then, you have to find another edge piece that is white and follow the same directions. Keep doing this until there are 4 white edge pieces around the white center. Remember, make sure that the WHITE part of the edge piece is next to the white center, not the other color of the edge piece. It should look something like this:

Step 2: Inserting the Corner Pieces
Now that you have the edge pieces done, you can start putting in the corner pieces right next to the edge pieces. First, you have to find a white corner piece. Then, you have to insert it next to an edge piece. What you have to do it that you have to take out an edge piece from the cross, then you have to move a white corner piece next to the edge piece, then put the whole thing back into the cross. Then, you will see that the white corner is next to a white edge. Continue doing this process until all of the corner pieces are inserted into the white face. Remember to make sure the WHITE COLOR of the corner pieces that you are inserting is with a WHITE edge piece. It will look something like this:

You have now solved one face of a Rubik's Cube!
For more information, use the website below: (Credit: J Perm)
THE END
thank you
ps i think this website is real go to the preview and press the expand button and copy it and share it!


